Mastering Natural Light Photography

Natural light is one of the most powerful tools in a photographer's arsenal. When harnessed correctly, it can transform an ordinary scene into something extraordinary. Unlike artificial lighting, which requires equipment and setup, natural light is free, abundant, and constantly changing—offering endless creative possibilities.
In this comprehensive guide, we'll explore how to read, understand, and work with natural light in various conditions to create stunning photographs. Whether you're a beginner or an experienced photographer looking to refine your skills, these principles will help you make the most of available light.
Understanding the Quality of Light
Before we dive into specific techniques, it's essential to understand the fundamental characteristics of natural light:
Hard vs. Soft Light
Hard light creates strong, defined shadows and high contrast. It's typically produced by small, intense light sources like direct sunlight on a clear day. While challenging to work with, hard light can create dramatic, high-impact images with strong visual interest.
Soft light produces gentle, gradual transitions between light and shadow. It comes from large, diffused sources like overcast skies or light reflected off large surfaces. Soft light is flattering for portraits and creates a more even, forgiving illumination.
 Hard Light: Notice the defined shadows and high contrast
 Soft Light: Observe the gentle transitions and even illumination
Direction of Light
The angle from which light strikes your subject dramatically affects mood, dimension, and texture:
- Front lighting (light source behind the photographer) evenly illuminates your subject, minimizing shadows and texture. While it provides clear visibility, it can make images appear flat.
- Side lighting emphasizes texture and creates a three-dimensional effect by casting shadows across one side of your subject. It's excellent for landscape and architectural photography.
- Backlighting (light source behind your subject) creates dramatic silhouettes and rim lighting effects. It can be challenging to expose correctly but produces striking results.
- Top lighting (overhead sun) creates unflattering shadows under the eyes, nose, and chin—generally avoided in portrait photography but can be interesting for textural subjects.
The Golden Hours: Prime Time for Natural Light
The quality of natural light changes throughout the day, but two periods are particularly prized by photographers:
Morning Golden Hour
The hour after sunrise offers soft, warm light with a gentle, cool-toned quality. Morning light often feels clean and crisp, with less atmospheric haze than evening. The world is often quieter during this time, making it ideal for landscape and street photography.
Evening Golden Hour
The hour before sunset provides rich, warm golden tones that create a romantic, nostalgic mood. This light is typically warmer and more saturated than morning light, making it popular for portraits and lifestyle photography.
 The warm, directional quality of golden hour light adds depth and dimension to landscapes
During these golden hours, the sun's low angle creates directional light that adds depth, dimension, and texture to your subjects. The warm color temperature adds a pleasing glow to skin tones and landscapes alike.
Working with Challenging Light Conditions
While golden hour light is ideal, photographers must often work in less-than-perfect conditions. Here's how to handle challenging lighting situations:
Harsh Midday Sun
When the sun is high overhead, try these approaches:
- Seek shade under trees or buildings for softer, more even light
- Use a reflector to bounce light back into shadowed areas
- Embrace the contrast for dramatic black and white images
- Position subjects with their backs to the sun for rim lighting effects
- Use a diffuser (like a translucent scrim) to soften direct sunlight
Overcast Days
Cloudy skies provide soft, diffused light that's excellent for portraits and colorful subjects:
- Take advantage of the even illumination for portraits and macro photography
- Use the soft light to capture saturated colors without harsh shadows
- Consider including the moody sky in landscape compositions
- Increase contrast in post-processing to add definition to potentially flat images
Indoor Natural Light
Working with window light indoors can produce stunning results:
- Position subjects close to large windows for soft, directional light
- Use reflectors opposite the window to fill shadows
- Consider silhouettes against bright windows
- Pay attention to the color temperature, which may be cooler from north-facing windows
- Use curtains or blinds as diffusers to control light intensity
 Window light creates beautiful, soft directional illumination for indoor portraits
Technical Considerations for Natural Light Photography
Exposure Techniques
Working with natural light often requires careful exposure decisions:
- Expose for the highlights in high-contrast situations to prevent detail loss in bright areas
- Consider bracketing exposures in challenging light for HDR processing later
- Use spot metering on the most important part of your subject
- For backlit subjects, increase exposure compensation to properly illuminate your subject
White Balance Considerations
Natural light changes color temperature throughout the day:
- Morning and evening light is warmer (lower Kelvin temperature)
- Midday light is cooler and bluer (higher Kelvin temperature)
- Shade is significantly cooler than direct sunlight
- Consider using a custom white balance or gray card in mixed lighting
- Shooting in RAW format allows maximum flexibility for white balance adjustments later
Helpful Accessories
A few simple tools can dramatically improve your natural light photography:
- Reflectors bounce light back onto your subject, filling shadows
- Diffusers soften harsh direct light
- Polarizing filters reduce glare and increase color saturation
- Neutral density filters allow for wider apertures or slower shutter speeds in bright conditions
Practical Applications by Genre
Portrait Photography
For flattering natural light portraits:
- Position subjects at the edge of shade facing toward the light for catch lights in the eyes
- Use backlighting with exposure compensation for a dreamy effect
- Look for pockets of light in urban environments for spotlight effects
- Consider the "45-degree rule"—positioning your subject so light comes from roughly 45 degrees above and to the side
Landscape Photography
To capture compelling natural light landscapes:
- Plan shoots around golden hour for dramatic side lighting
- Use apps like PhotoPills or The Photographer's Ephemeris to track sun position
- Look for unique weather conditions like fog, storm clouds, or sun rays
- Consider how seasonal changes affect light quality and direction
Street Photography
For compelling street images with natural light:
- Look for pockets of light between buildings creating spotlights
- Use shadows and light patterns as compositional elements
- Pay attention to reflections from glass buildings and wet surfaces
- Consider how low-angle light creates long shadows that can frame or lead to your subjects
Conclusion: Developing Your Light Awareness
Mastering natural light photography is an ongoing journey of observation and practice. The more you train yourself to see light—its quality, direction, and emotional impact—the better your photographs will become.
Start by observing light in your everyday environment. Notice how it changes throughout the day, how it interacts with different surfaces, and how it affects the mood of a scene. Take test shots in various lighting conditions and analyze the results.
Remember that "perfect" light is subjective and depends on your creative vision. Sometimes the most interesting images come from challenging lighting situations that push you to find creative solutions.
With practice and patience, you'll develop an intuitive understanding of natural light that will transform your photography, allowing you to create compelling images in any environment.

You Might Also Like

The Art of Portrait Photography
June 5, 2024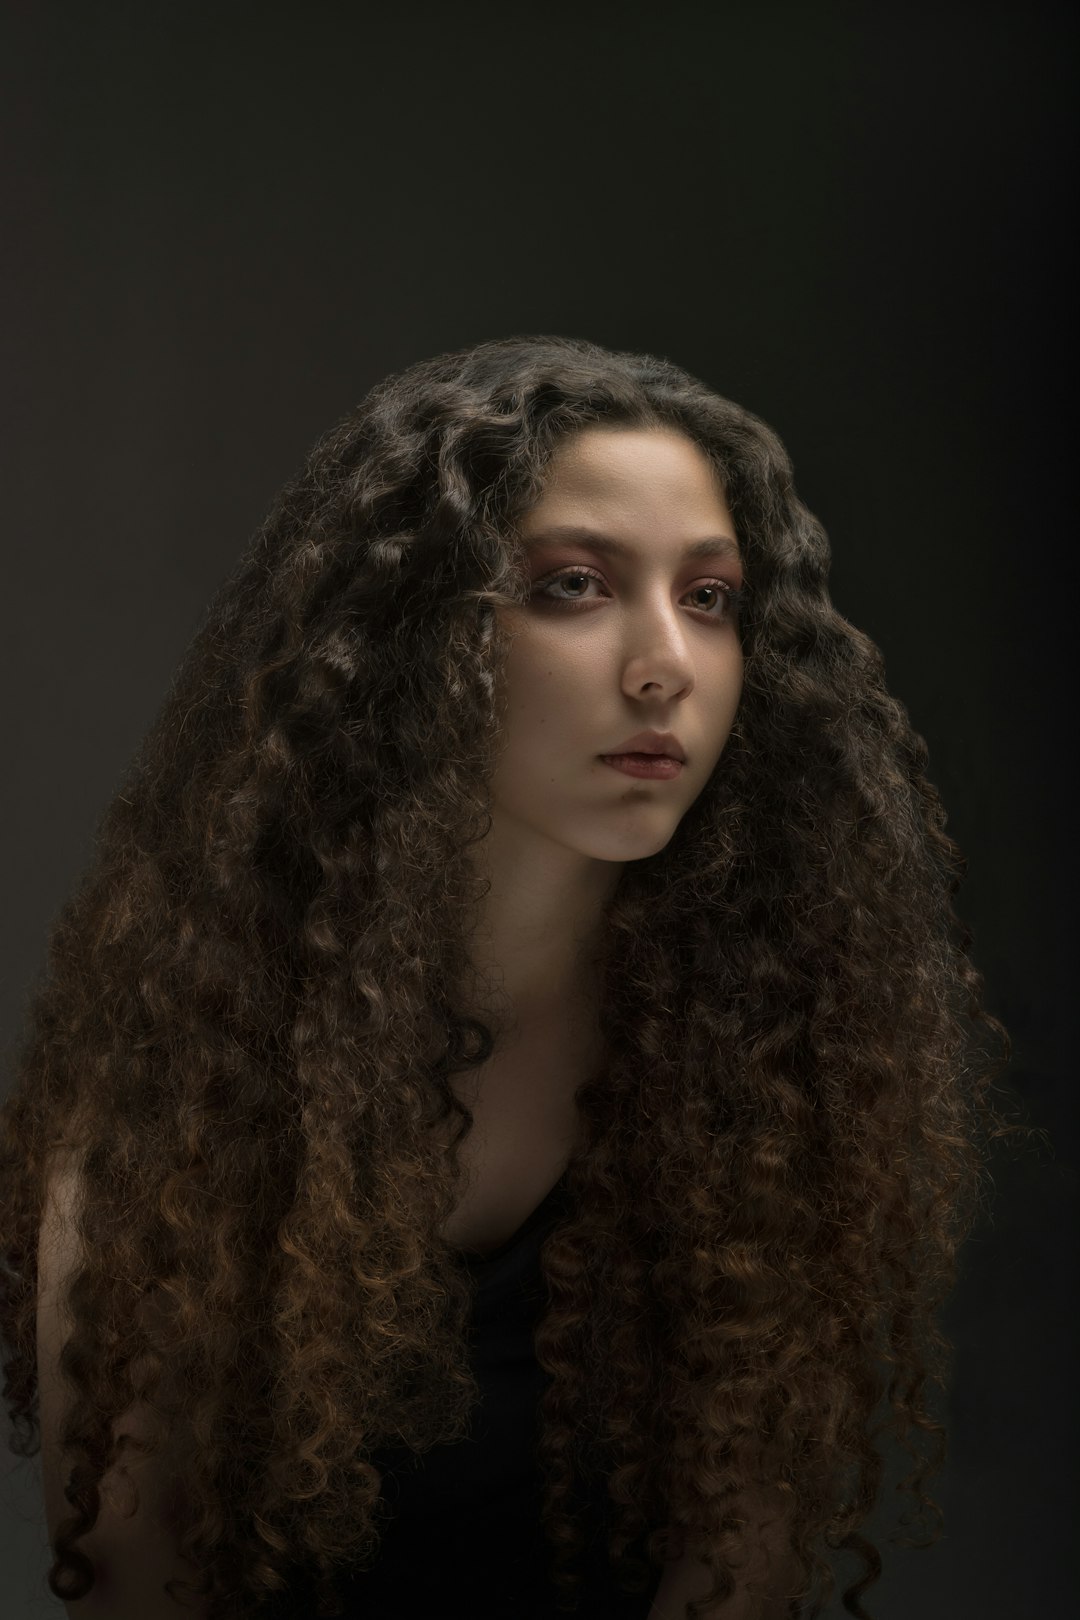
Landscape Photography: Capturing Nature's Grandeur
May 28, 2024