Essential Camera Gear for Beginners
Starting your photography journey can be overwhelming, especially when it comes to choosing the right equipment. While it's tempting to invest in expensive gear right away, beginners should focus on essentials that provide the most value for learning and growth.
In this guide, we'll explore the essential camera gear for beginners, explaining what you truly need versus what can wait. Remember, great photographers create compelling images with simple tools—it's about developing your eye and technical skills before expanding your equipment collection.
The Foundation: Choosing Your First Camera
Your first camera should balance quality, affordability, and room for growth. Here are your main options:
DSLR vs. Mirrorless
The two main camera systems beginners typically choose between are Digital Single-Lens Reflex (DSLR) cameras and mirrorless cameras.
 DSLR Camera
 Mirrorless Camera
DSLR Cameras: Pros and Cons
Pros:
- Often more affordable for entry-level models
- Excellent battery life
- Optical viewfinder shows exactly what you'll capture
- Vast selection of native and third-party lenses
- Robust build and ergonomics
Cons:
- Larger and heavier than mirrorless alternatives
- No preview of exposure settings in viewfinder
- Slower autofocus in live view mode
- Older technology with fewer new developments
Mirrorless Cameras: Pros and Cons
Pros:
- Smaller and lighter form factor
- Electronic viewfinder shows real-time exposure preview
- Generally faster autofocus, especially for video
- Better video capabilities in most cases
- Represents the future direction of camera technology
Cons:
- Often more expensive for comparable image quality
- Shorter battery life
- Fewer native lenses for some systems (though this is changing)
- Electronic viewfinders may have slight lag
Recommendation: For beginners in 2024, a mirrorless camera provides the best balance of current technology and future-proofing. However, entry-level DSLRs still offer excellent value, especially if budget is a primary concern.
Entry-Level Models Worth Considering
Here are some excellent beginner-friendly cameras to consider:
Mirrorless Options:
- Sony Alpha a6100 or a6400
- Fujifilm X-T200 or X-S10
- Canon EOS RP or R10
- Nikon Z50 or Zfc
DSLR Options:
- Nikon D3500 or D5600
- Canon EOS Rebel T8i (850D) or 90D
- Pentax K-70
All these cameras offer manual controls, the ability to change lenses, and enough quality to grow with you for several years.
Lenses: Your Most Important Investment
While cameras come and go, quality lenses can last decades. They have a more significant impact on image quality than the camera body itself.
The First Lens Dilemma
Most beginner cameras come with a "kit lens"—usually an 18-55mm zoom for APS-C cameras or a 24-105mm for full-frame cameras. While kit lenses provide versatility, they typically have variable apertures (like f/3.5-5.6) that limit their performance in low light.
Here are approaches to consider for your first lens purchase:
Option 1: Start with the Kit Lens
Advantages: Versatile focal range, lower initial cost, chance to learn what focal lengths you prefer before investing more.
Option 2: Skip the Kit Lens for a Prime
Advantages: Better optical quality, wider aperture (typically f/1.8), forces you to "zoom with your feet" and think more about composition.
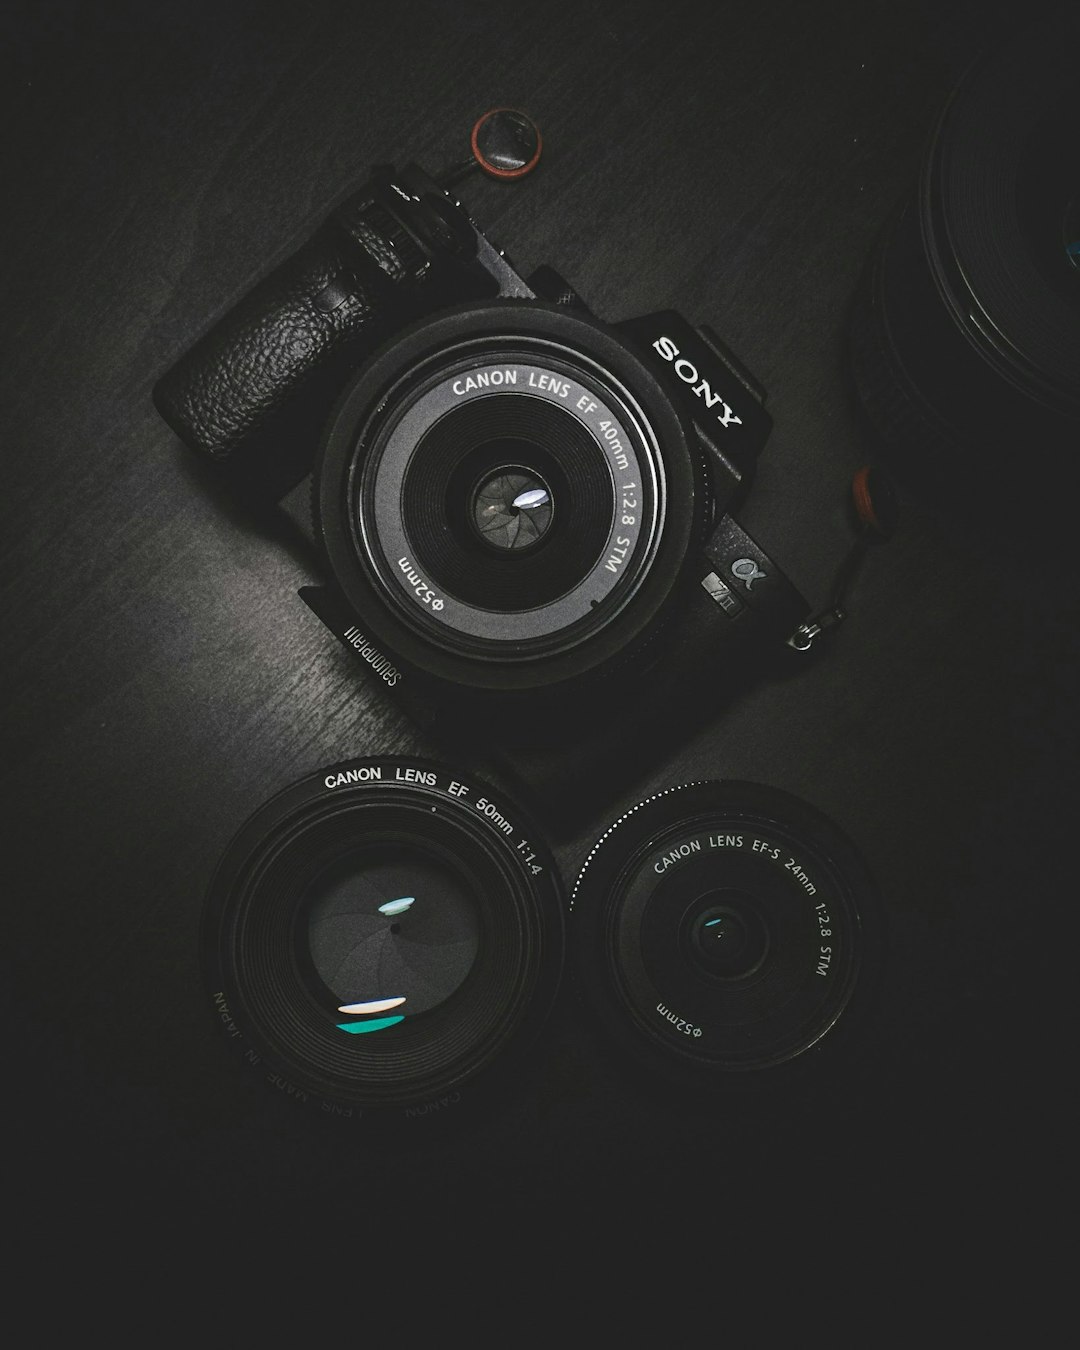
 A selection of prime and zoom lenses
Essential Beginner Lenses
If you're building a lens collection from scratch, consider these options:
1. Standard Prime Lens (35mm or 50mm equivalent)
Often called a "nifty fifty," a standard prime lens offers a natural field of view similar to human vision. With a wide aperture (usually f/1.8), these lenses excel in low light and create beautiful background blur (bokeh). They're also typically the most affordable high-quality lenses available.
Examples:
- For APS-C cameras: 35mm f/1.8 (approximately 50mm equivalent)
- For full-frame cameras: 50mm f/1.8
2. Versatile Zoom Lens
A zoom lens with improved aperture compared to kit lenses provides flexibility while maintaining decent image quality.
Examples:
- For APS-C: 17-50mm f/2.8 or 16-80mm f/4
- For full-frame: 24-70mm f/4 or 24-105mm f/4
3. Telephoto Zoom (Optional)
If your photography interests include wildlife, sports, or portraits, a telephoto zoom allows you to capture distant subjects.
Examples:
- For APS-C: 55-200mm f/4-5.6 or 70-300mm f/4.5-6.3
- For full-frame: 70-200mm f/4 or 70-300mm f/4.5-5.6
Recommendation: If budget allows, start with both a standard prime lens and the kit zoom. This combination provides versatility while allowing you to experience the benefits of a quality prime lens.
Essential Accessories
Beyond the camera and lenses, several accessories will significantly improve your photography experience:
1. Memory Cards
Invest in at least two high-quality memory cards with adequate speed and capacity:
- SD, CF, XQD, or CFexpress cards depending on your camera
- 32GB minimum for JPEG shooters, 64GB+ for RAW
- Look for cards with higher write speeds (Class 10, U3, V30, or better)
2. Extra Batteries and Charger
Nothing ends a photo session faster than a dead battery. Always carry at least one spare battery, especially for mirrorless cameras which tend to drain faster.
3. Camera Bag
Protect your investment with a proper camera bag. Consider these styles:
- Shoulder bag: Easy access, comfortable for shorter outings
- Backpack: Better weight distribution, more capacity, ideal for longer shoots
- Sling bag: Hybrid design offering quick access and decent capacity
Look for bags with customizable dividers, weather resistance, and comfortable straps.
 A well-organized camera bag is essential for protecting your gear
4. Tripod
A sturdy tripod is essential for many types of photography:
- Night photography and long exposures
- Self-portraits and group shots
- Landscape photography
- Macro photography
- Video recording
Tripod buying advice: Look for a balance between weight, stability, and cost. Aluminum tripods are more affordable but heavier; carbon fiber is lighter but more expensive. Ensure the tripod can support at least 1.5 times your heaviest camera/lens combination.
5. Lens Filters
A few essential filters can improve your photography:
- UV/Protection filter: Protects the front element of your lens
- Circular Polarizer (CPL): Reduces reflections and enhances colors, especially useful for landscapes
- Neutral Density (ND) filter: Reduces light entering the lens, allowing for longer exposures or wider apertures in bright conditions
6. Cleaning Kit
Maintaining clean equipment is crucial for image quality:
- Microfiber cloths
- Lens cleaning solution
- Rocket blower
- Lens cleaning pen
- Sensor cleaning kit (for more advanced users)
Optional But Useful Accessories
As you develop your skills, consider these additional items:
1. External Flash (Speedlight)
A dedicated flash provides more power and flexibility than built-in flashes. Look for models with tilt/swivel heads for bounce flash capability.
2. Remote Shutter Release
Allows you to trigger your camera without touching it, reducing vibration for long exposures. Many newer cameras can also be controlled via smartphone apps.
3. Gray Card or Color Checker
Helps achieve accurate white balance and exposure, especially useful for consistent results in portrait or product photography.
4. External Hard Drive
Essential for backing up your growing photo collection. Consider drives with at least 1-2TB capacity.
Software and Learning Resources
Equipment is only half the equation. Invest in these non-physical resources:
1. Photo Editing Software
Options include:
- Adobe Lightroom: Industry standard for organizing and editing
- Capture One: Professional alternative with excellent color tools
- Affinity Photo: One-time purchase alternative to Photoshop
- Free options: GIMP, Darktable, RawTherapee
2. Learning Resources
Allocate part of your budget to education:
- Online courses from platforms like LinkedIn Learning, Udemy, or CreativeLive
- Photography books specific to your interests
- Workshops or local photo walks
- YouTube channels dedicated to photography education
Building Your Kit Strategically
As a beginner, resist the temptation to buy everything at once. Instead:
- Start with the essentials: Camera body, 1-2 versatile lenses, memory cards, and a battery
- Identify your photography interests: Shoot with basic equipment for a few months to determine which genres you enjoy most
- Upgrade selectively: Invest in equipment that addresses specific limitations you've encountered
- Consider used equipment: Quality lenses and camera bodies often maintain their performance for years
- Rent before buying: Test expensive equipment before committing
Conclusion: Focus on Learning, Not Gear
While having the right equipment is important, remember that the best camera is the one you have with you. Many professional photographers create stunning work with entry-level gear because they've mastered composition, lighting, and timing.
Invest in understanding your equipment thoroughly before upgrading. Learn to work within its limitations, which often leads to greater creativity. As your skills develop, you'll make more informed decisions about which gear truly deserves your investment.
The journey of photography is about developing your unique vision—the equipment is simply the tool that helps you bring that vision to life.

You Might Also Like
Mastering Natural Light Photography
June 15, 2024
The Art of Portrait Photography
June 5, 2024